
Kyocera ECOSYS M2040dn vertical black lines on copies or prints
Applies to: Kyocera ECOSYS M2040dn, Kyocera ECOSYS M2135dn, Kyocera ECOSYS M2635dn, Kyocera ECOSYS M2635dw, Kyocera ECOSYS M2735dw, Kyocera ECOSYS M2540dn, Kyocera ECOSYS M2540dw, Kyocera ECOSYS M2640idw
Quick answer
Vertical black lines on a Kyocera ECOSYS M2040dn come from either the scanner or the print engine. Print the Test Page from Service Setting first. If only copies show lines, clean the slit glass and contact glass. If the test page shows them too, a dirty drum is the first engine check, cleared with Drum Refresh.
What is happening?
Black lines that run down the page, in the direction the paper travels, can be picked up while scanning or added while printing. Kyocera splits the checks by where the line starts: the contact glass, the document processor (front side, and back side on 40 ppm models), the paper path, and the image forming parts. The test page tells you which half to work on. The same checks apply to all eight models in this service manual.
What causes it?
Dirty slit glass, contact glass or shading plate
Dust or marks on the glass the scanner reads through. When feeding from the document processor, the slit glass and the original guide come first.
Dirty original, mat or wrong size
A marked original, a dirty original mat, or a detected size that does not match the real original.
Scanner adjustment out
If lines sit outside the original area, the centre line (U067 or U072), the leading edge (U411) or the DP scan position (U068) needs adjusting.
Faulty CIS, DPCIS or main board link
The image sensor in the scanner carriage, the back side sensor in the DP, or the cable and board behind them.
Paper path dirt (engine)
Wrong media type, toner on the FD guide, paper dust on the separation needles, or a dirty, bent or worn transfer roller.
Drum and charger (engine)
A dirty or worn drum surface, a streak of dirt on the main charger wire or a changed wire surface, or foreign matter on the developer roller.
What can you check yourself?
- 1
Print the test page
Go to System Menu > Adjustment/Maintenance > Service Setting and print the Test Page (a grey halftone sheet). If the fault is on the test page, the printing engine is the cause. If the test page is clean and only copies or scans show it, the scanner is the cause.
- 2
Compare glass and feeder
Copy the original once from the contact glass and once through the document processor. If only one of them shows the fault, that scanning path is where to look.
- 3
Clean the glass
Wipe the contact glass, the narrow slit glass beside it and the white original mat under the cover. Copy again.
- 4
Check the original and size
Use a clean original and make sure the original size on the panel matches the paper you placed.
- 5
Check the media type
If the test page also has lines, set the correct media type for the loaded paper in the System Menu.
- 6
Run Drum Refresh
If you can reach Service Setting, run Drum Refresh once and print the test page again. If you cannot, leave this to your technician.
Steps for a technician
- 1
Isolate scanner or engine
Print the Test Page from Service Setting. A fault on the test page is an engine factor; a clean test page means a scanner factor. A fault that scales with zoom copying is also a scanner factor. On the scanner side, check whether it follows the contact glass, the DP front side (main unit CIS) or the DP back side (DPCIS, 40 ppm models only).
- 2
Contact glass path
Rule out a dirty original, set the original size, clean the original mat. If lines fall outside the original, adjust U067 [Front] and run U411 [Table(ChartA)]. Clean the contact glass and the shading plate on its underside.
- 3
DP front side path
Clean the slit glass and the DP original conveying guide, then the contact glass, shading plate and scanner carriage. For lines outside the original, adjust U072 [Front], run U411 [DP FU(Chart B)] and set U068 [DP Read].
- 4
DP back side path (40 ppm models)
Adjust U072 [Back] and run U411 [DP FD(ChartB)] if lines sit outside the original. Clean the DPCIS contact glass, the DP conveying guide and DP conveying roller A. If not fixed, replace the DPCIS and run U411 [DP FD(ChartA)].
- 5
Scanner hardware
Fit a new scanner carriage (CIS) and run U411 with Table(ChartA) and DP FU(ChartA). If lines remain, reseat the connectors and FFC on the main/engine PWB, repair damaged wiring, and replace the board as the last step.
- 6
Engine paper path
Set the right media type. Clean toner off the FD guide and brush the separation needles clean. If the line repeats at the spacing of one roller turn, clean the transfer roller; replace it if that does not work.
- 7
Drum
Run Drum Refresh. If the drum surface is worn, replace the drum unit.
- 8
Main charger
Clean the main charger wire. If its surface has changed, replace the main charger unit.
- 9
Developer
Clean foreign matter off the developer roller. If the line stays, replace the developer unit.
Parts for this error
Drum unit (DK-1150)
Only if Drum Refresh does not help and the check in step 7 finds the drum surface worn or scratched. The manual's measure is a complete drum unit. Please confirm with us that this DK-1150 listing is the full drum unit for your model before ordering.
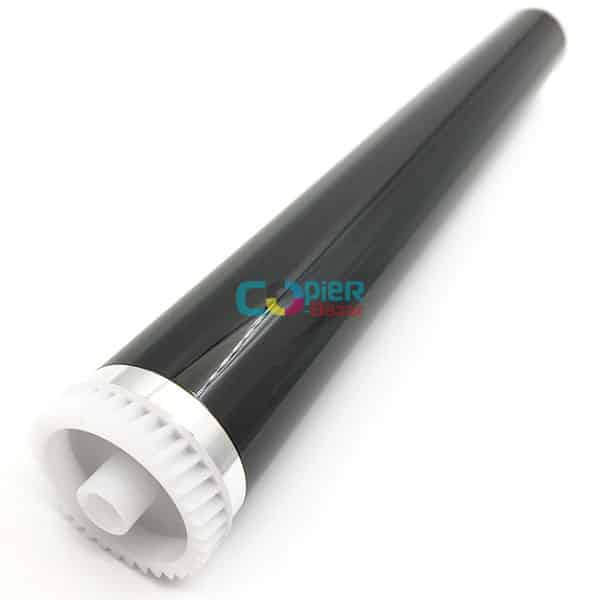
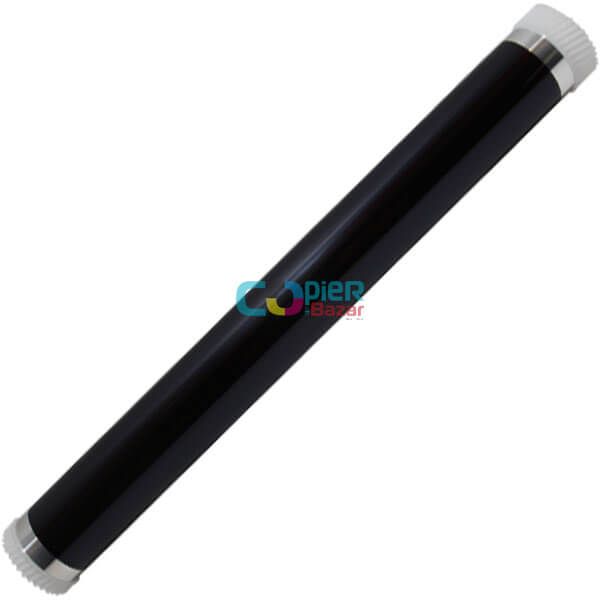
Drum only (without the unit)
For the same check as step 7. This is the photoconductor drum alone, not the complete drum unit that the manual replaces. A technician can fit it into your existing drum unit.
When should you call a technician?
Call a technician if the lines stay after cleaning the glass and checking the paper settings, or if they show on the test page after Drum Refresh.
Questions people ask
- Why is my Kyocera M2040dn printing black lines down the page?
- On a Kyocera ECOSYS M2040dn the line comes either from the scanner or from the print engine. Print the Test Page: if it has the line, the engine (drum, charger, transfer or developer) is the cause; if not, the scanner glass or sensor is.
- Black lines only on copies, not on PC prints?
- That points to the scanner. Clean the slit glass if you use the document processor, or the contact glass and original mat if you use the glass. A technician can then check the CIS and scanner adjustments.
- Does a black line mean a new drum on a Kyocera M2040dn?
- Not always. The service manual runs Drum Refresh first and only replaces the drum unit if the drum surface is worn. The main charger wire and developer roller are checked after that.