
Kyocera ECOSYS M2040dn uneven print: one part darker or lighter
Applies to: Kyocera ECOSYS M2040dn, Kyocera ECOSYS M2135dn, Kyocera ECOSYS M2635dn, Kyocera ECOSYS M2635dw, Kyocera ECOSYS M2735dw, Kyocera ECOSYS M2540dn, Kyocera ECOSYS M2540dw, Kyocera ECOSYS M2640idw
Quick answer
Uneven density on a Kyocera ECOSYS M2040dn means one area of the page prints darker or lighter than the rest. Print the Test Page from Service Setting. If only copies are uneven, check the image quality setting, the original and the glass. If the test page is uneven, the DS pulleys on the developer unit are checked first.
What is happening?
On copies, patchy density often comes from a creased original, a shifted original mat, a bent or dirty contact glass, or some of the scanner LEDs not lighting. On prints, Kyocera separates bands across the page (developer DS pulleys, developer bias contact, old toner, drum, laser emission) from bands along the page (drum condensation, LSU mirror, main charger wire, drum, developer roller toner layer). Uneven transfer from the transfer roller or fuser is a related engine check. The same checks apply to all eight models in this service manual.
What causes it?
Original and settings
Image quality not matched to the original, or a dirty, bent or creased original.
Glass and mat
A shifted original mat, a dirty or loose contact glass, a book pressed so the glass bends, or a dirty or bent slit glass or DP scanning guide.
Scanner hardware
Some LEDs not lighting, a bent ISU shaft contact on the carriage, a faulty CIS or DPCIS, or DP conveying roller A not turning properly.
Developer side (engine)
Dirty or faulty DS pulleys, a dirty developer bias contact, old toner in the developer, or an uneven toner layer on the developer roller.
Drum, charger and laser (engine)
Toner streaks or condensation on the drum, charge left on the drum, dirt on the main charger wire, a worn drum, or uneven laser output from the LSU.
Transfer and fuser (engine)
A dirty or poorly fitted transfer roller, a bent high voltage contact, or a worn fuser roller, drive or pressure release.
What can you check yourself?
- 1
Print the test page
Go to System Menu > Adjustment/Maintenance > Service Setting and print the Test Page (a grey halftone sheet). If the fault is on the test page, the printing engine is the cause. If the test page is clean and only copies or scans show it, the scanner is the cause.
- 2
Match the image quality
Set the original image quality in the System Menu to suit the original type.
- 3
Flatten the original
Use a clean original and smooth out folds and creases. When copying a book, do not press so hard that the glass bends.
- 4
Clean the glass
Wipe the contact glass, the narrow slit glass beside it and the white original mat under the cover. Copy again.
Steps for a technician
- 1
Isolate scanner or engine
Print the Test Page from Service Setting. A fault on the test page is an engine factor; a clean test page means a scanner factor. A fault that scales with zoom copying is also a scanner factor. On the scanner side, check whether it follows the contact glass, the DP front side (main unit CIS) or the DP back side (DPCIS, 40 ppm models only).
- 2
Contact glass path
Refit the original mat, clean and refit the contact glass. Replace the scanner carriage if LEDs are out, the ISU shaft contact is bent or the CIS is faulty, then run U411 Table(ChartA) and DP FU(ChartA). Last, the main/engine PWB.
- 3
Document processor path
Treat the contact glass faults first. Then clean or refit the slit glass and the DP scanning guide. For back sides, refit the DP conveying roller A drive, clean the DPCIS glass and replace the DPCIS if needed.
- 4
Bands across the page (engine)
Clean the DS pulleys on each end of the developer unit, or fit a new developer unit. Clean the developer bias contact. Use up old toner with test prints and refill. Run Drum Refresh. Lower the [MC] setting in Service Settings. Replace the drum unit if worn, then the LSU.
- 5
Bands along the page (engine)
Run Drum Refresh. Replace the LSU if its internal mirror has come off. Clean the main charger wire or replace the main charger unit. Replace the drum unit if worn, then the developer unit.
- 6
Uneven transfer (engine)
If marks repeat at one transfer roller turn, clean the roller. Correct a bent press spring or replace the transfer roller. Replace the high voltage PWB if its contact is bent. Replace the fuser unit if its roller, drive or pressure release is worn or bent.
Parts for this error
Drum unit (DK-1150)
Only if Drum Refresh does not help and the check in step 4 finds the drum surface worn or scratched. The manual's measure is a complete drum unit. Please confirm with us that this DK-1150 listing is the full drum unit for your model before ordering.
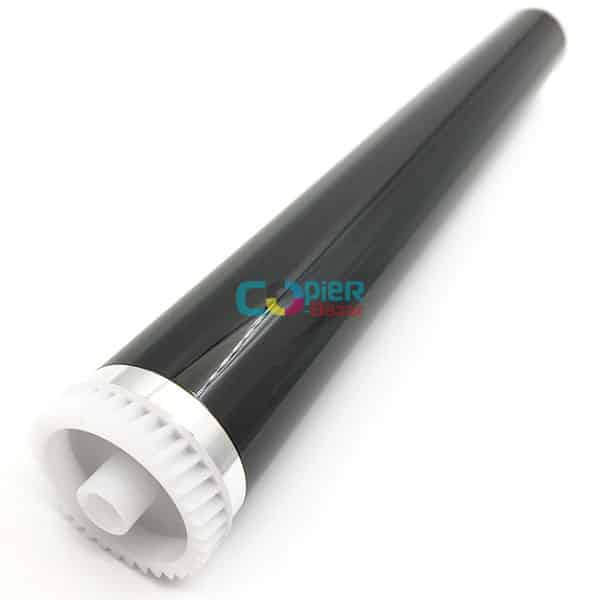
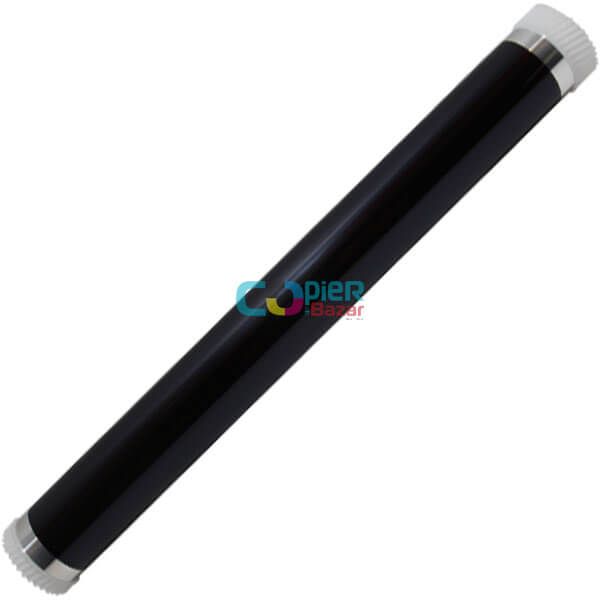
Drum only (without the unit)
For the same check as step 4. This is the photoconductor drum alone, not the complete drum unit that the manual replaces. A technician can fit it into your existing drum unit.
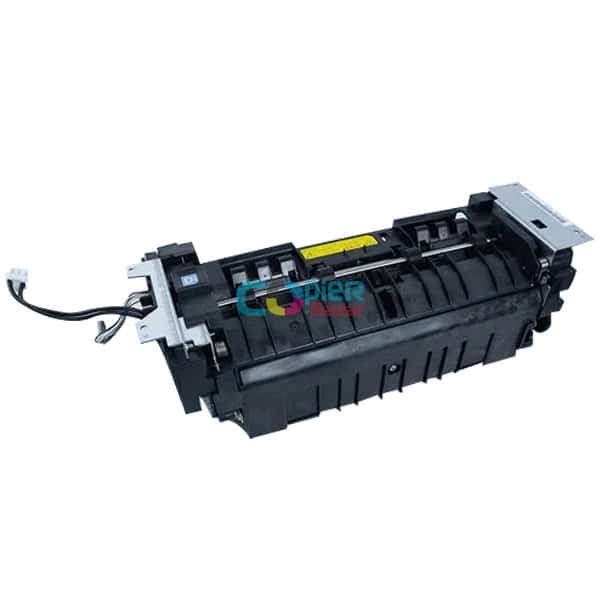
Fuser unit
Only if the check in step 6 finds the fuser roller, drive or pressure release worn or bent. The manual's measure is a complete fuser unit (the store calls it the fixing unit).
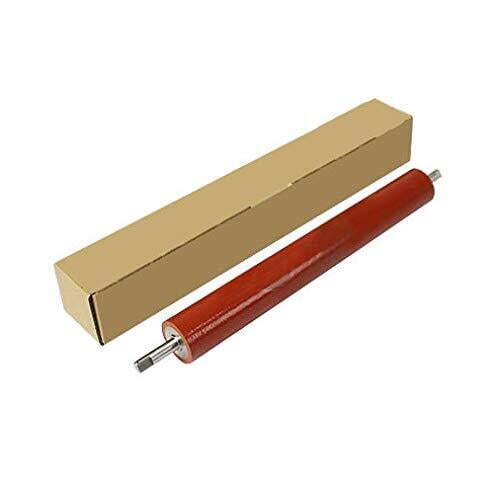
Lower pressure roller
The manual names a worn fuser roller in step 6 but replaces the complete fuser unit. A technician may choose to fit only this pressure roller if that is the worn roller. That is not a Kyocera measure.
When should you call a technician?
Call a technician if the test page shows uneven density, or if copies stay uneven after fixing the settings, the original and the glass.
Questions people ask
- Why is one side of my Kyocera M2040dn print lighter?
- Print the Test Page. If it is uneven, the Kyocera service manual first checks the DS pulleys on each end of the developer unit, then the developer bias contact, toner, drum and LSU.
- Why are copies of a book darker in some places?
- Pressing a book so hard that the contact glass bends can cause uneven density. Place the book without bending the glass.
- What part fixes uneven print on a Kyocera M2040dn?
- It depends on the test. The manual may end at a new developer unit, drum unit, LSU or fuser unit, but it cleans and adjusts before replacing anything.