
Kyocera ECOSYS M2040dn horizontal lines or bands across the page
Applies to: Kyocera ECOSYS M2040dn, Kyocera ECOSYS M2135dn, Kyocera ECOSYS M2635dn, Kyocera ECOSYS M2635dw, Kyocera ECOSYS M2735dw, Kyocera ECOSYS M2540dn, Kyocera ECOSYS M2540dw, Kyocera ECOSYS M2640idw
Quick answer
Horizontal lines or bands on a Kyocera ECOSYS M2040dn run across the sheet and can come from the scanner, the fuser or the drum area. Print the Test Page from Service Setting first. If only copies show them, clean the glass and use a clean original. If the test page shows them, the developer roller ends are checked first.
What is happening?
These are black or white lines that cross the page from side to side. On copies they often come from a dirty original or glass, or from the scanner reading the back of the size plate when its timing is off. On prints, Kyocera looks at the fuser belt, the transfer roller press spring, developer bias leakage at the developer roller ends, the drum, the main charger and the high voltage supply. Irregular black bands can also come from high altitude or a poorly grounded drum. The same checks apply to all eight models in this service manual.
What causes it?
Dirty original or glass
Marks on the original, the slit glass, the contact glass or the DPCIS glass.
Scanner timing or centre line off
The scanner reads the back of the size indication plate because U066, U072 or U411 values are not right.
Scanner cable, CIS or board
A loose or damaged FFC between the CIS and main/engine PWB (YC506), a faulty CIS or DPCIS, or the board.
Fuser belt or transfer spring (engine)
A dirty fuser belt, or a press spring on the transfer roller that is loose or bent.
Developer bias leakage (engine)
Dirt or wear on both ends of the developer roller and on the developer bias contact.
Drum, charger and high voltage (engine)
A dirty or scratched drum, a dirty main charger wire, charge left on the drum, a loose high voltage cable (YC16), or an uneven high voltage PWB output.
Irregular black bands (engine)
Use above 1,500 m without the altitude setting, an ungrounded main charger contact, a drum unit not seated on its drive shaft, or paper with high surface resistance.
What can you check yourself?
- 1
Print the test page
Go to System Menu > Adjustment/Maintenance > Service Setting and print the Test Page (a grey halftone sheet). If the fault is on the test page, the printing engine is the cause. If the test page is clean and only copies or scans show it, the scanner is the cause.
- 2
Clean the glass
Wipe the contact glass, the narrow slit glass beside it and the white original mat under the cover. Copy again.
- 3
Use a clean original
Try another clean original to rule out marks on the page.
- 4
Try recommended paper
If the bands are irregular and black, load the paper Kyocera recommends and print again.
- 5
Run Drum Refresh
If the test page shows the lines and you can reach Service Setting, run Drum Refresh.
Steps for a technician
- 1
Isolate scanner or engine
Print the Test Page from Service Setting. A fault on the test page is an engine factor; a clean test page means a scanner factor. A fault that scales with zoom copying is also a scanner factor. On the scanner side, check whether it follows the contact glass, the DP front side (main unit CIS) or the DP back side (DPCIS, 40 ppm models only).
- 2
Scanner side
Rule out the original, clean the slit glass, contact glass or DPCIS glass and DP original conveying guide. Contact glass: adjust U066 [Front] and run U411 [Table(ChartA)]. DP front: adjust U072 [Front] and run U411 [Table(ChartA)].
- 3
Scanner hardware
Reseat the CIS to main/engine PWB FFC (YC506). Replace the scanner carriage and run U411 Table(ChartA) and DP FU(ChartA), or replace the DPCIS for back sides. Last, the main/engine PWB.
- 4
Fuser and transfer (engine)
If the line repeats at one turn of the fuser belt, clean the belt. Refit the transfer roller press spring; if it is bent, replace the transfer roller.
- 5
Developer (engine)
Clean both ends of the developer roller and the main charger contact. If they are worn along with the developer bias contact, replace the developer unit.
- 6
Drum and charger
Run Drum Refresh. Replace the drum unit if the drum has scratches. Clean the main charger wire or replace the main charger unit. Use the [MC] setting in Service Settings to lower the charger output if charge stays on the drum.
- 7
High voltage and board
Clean and refit the high voltage PWB to main/engine PWB cable (YC16), replacing it if there is no continuity. Then replace the high voltage PWB, and finally the main/engine PWB.
- 8
Irregular black bands
Set Altitude Adjustment in Service Settings above 1,500 m. Ground the main charger contact properly. Reseat the drum unit so it grounds the drum drive shaft. Switch to recommended paper.
Parts for this error
Drum unit (DK-1150)
Only if Drum Refresh does not help and the check in step 6 finds the drum surface worn or scratched. The manual's measure is a complete drum unit. Please confirm with us that this DK-1150 listing is the full drum unit for your model before ordering.
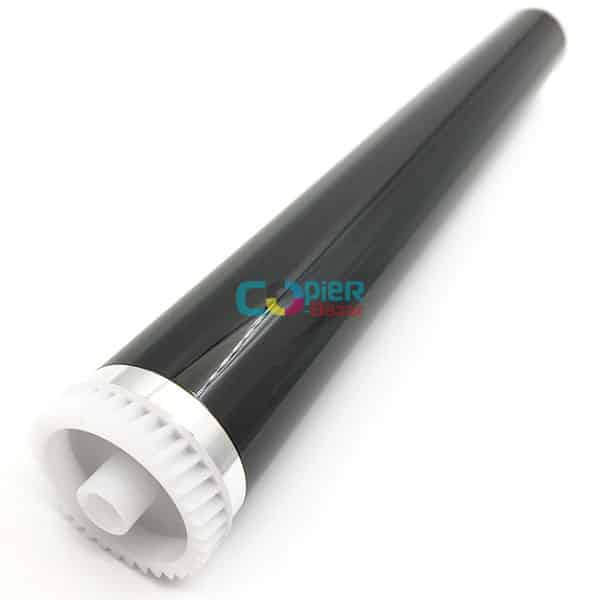
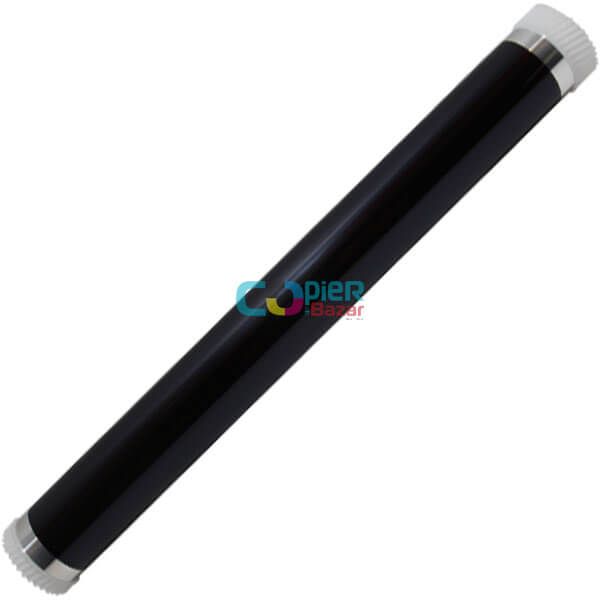
Drum only (without the unit)
For the same check as step 6. This is the photoconductor drum alone, not the complete drum unit that the manual replaces. A technician can fit it into your existing drum unit.
When should you call a technician?
Call a technician if the lines stay after cleaning the glass and changing the original, or if they show on the test page after Drum Refresh.
Questions people ask
- Why does my Kyocera M2040dn print lines across the page?
- On a Kyocera ECOSYS M2040dn, lines across the page come from the scanner (dirty glass or timing) or from the engine (fuser belt, developer roller ends, drum, charger or high voltage). The Test Page tells you which side to check.
- What causes irregular black bands on Kyocera prints?
- The service manual lists four checks: altitude setting above 1,500 m, a poorly grounded main charger contact, a drum unit that is not seated, and paper with high surface resistance.
- Do horizontal lines mean the drum is bad?
- Only sometimes. The manual first cleans the developer roller ends and then runs Drum Refresh. It replaces the drum unit only if the drum has scratches.