
Kyocera ECOSYS M2040dn black dots or spots on copies and prints
Applies to: Kyocera ECOSYS M2040dn, Kyocera ECOSYS M2135dn, Kyocera ECOSYS M2635dn, Kyocera ECOSYS M2635dw, Kyocera ECOSYS M2735dw, Kyocera ECOSYS M2540dn, Kyocera ECOSYS M2540dw, Kyocera ECOSYS M2640idw
Quick answer
Black dots or spots on a Kyocera ECOSYS M2040dn come either from a dirty original or scanner glass, or from the drum, transfer roller or fuser belt. Print the Test Page from Service Setting. If it is clean, clean the glass and change the original. If the test page has dots, run Drum Refresh first.
What is happening?
Spots that appear only on copies are picked up while scanning, usually from dirt on the original, the slit glass or the contact glass. Spots on prints are added by the engine. Kyocera checks the transfer roller and fuser belt when spots repeat at a fixed spacing, and the drum, main charger wire, altitude setting and developer roller when they are random black dots. The same checks apply to all eight models in this service manual.
What causes it?
Dirty original or glass
Dirt on the original, the slit glass or the contact glass.
Dust on the scanner carriage
Dust on the carriage when scanning through the document processor.
Scanner cable, CIS or board
A loose FFC, a faulty CIS or DPCIS, or the main/engine PWB.
Transfer roller or fuser belt (engine)
A dirty or scratched transfer roller or fuser belt, seen as spots repeating at the roller or belt circumference.
Drum (engine)
A dirty drum surface, or scratches on it.
Charger, altitude and developer (engine)
A dirty main charger wire, developer bias leaking because the altitude setting is wrong, or a dirty or faulty developer roller and magnet roller.
What can you check yourself?
- 1
Print the test page
Go to System Menu > Adjustment/Maintenance > Service Setting and print the Test Page (a grey halftone sheet). If the fault is on the test page, the printing engine is the cause. If the test page is clean and only copies or scans show it, the scanner is the cause.
- 2
Clean the glass
Wipe the contact glass, the narrow slit glass beside it and the white original mat under the cover. Copy again.
- 3
Use a clean original
Copy a different, clean original. Note: on scans sent by e-mail or to a PC, coloured dots can come from the same causes.
- 4
Run Drum Refresh
If the test page shows the dots and you can reach Service Setting, run Drum Refresh and print the test page again.
Steps for a technician
- 1
Isolate scanner or engine
Print the Test Page from Service Setting. A fault on the test page is an engine factor; a clean test page means a scanner factor. A fault that scales with zoom copying is also a scanner factor. On the scanner side, check whether it follows the contact glass, the DP front side (main unit CIS) or the DP back side (DPCIS, 40 ppm models only).
- 2
Scanner side
Rule out the original. Clean the contact glass or the slit glass, and the scanner carriage for DP scans. Reseat the CIS FFC to the main/engine PWB (YC506). Replace the scanner carriage and run U411 Table(ChartA) and DP FU(ChartA), or the DPCIS with U411 [DP FD(ChartA)] for back sides. Last, the main/engine PWB.
- 3
Transfer roller (engine)
If spots repeat at one transfer roller turn, clean the roller; replace it if that does not work.
- 4
Fuser belt (engine)
If spots repeat at one fuser belt turn, clean the belt. If they remain, replace the fuser unit.
- 5
Drum
Run Drum Refresh. If the drum surface has scratches, replace the drum unit.
- 6
Charger and altitude
Clean the main charger wire, or replace the main charger unit. Set Altitude Adjustment in Service Settings to stop developer bias leaking.
- 7
Developer
Clean the developer roller. If dots remain, replace the developer unit.
Parts for this error
Fuser unit
Only if the check in step 4 finds spots at the fuser belt spacing that cleaning does not remove. The manual's measure is a complete fuser unit (the store calls it the fixing unit).
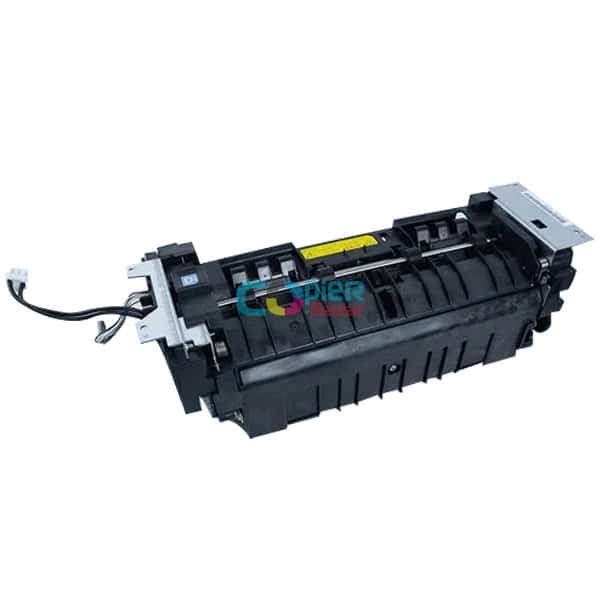
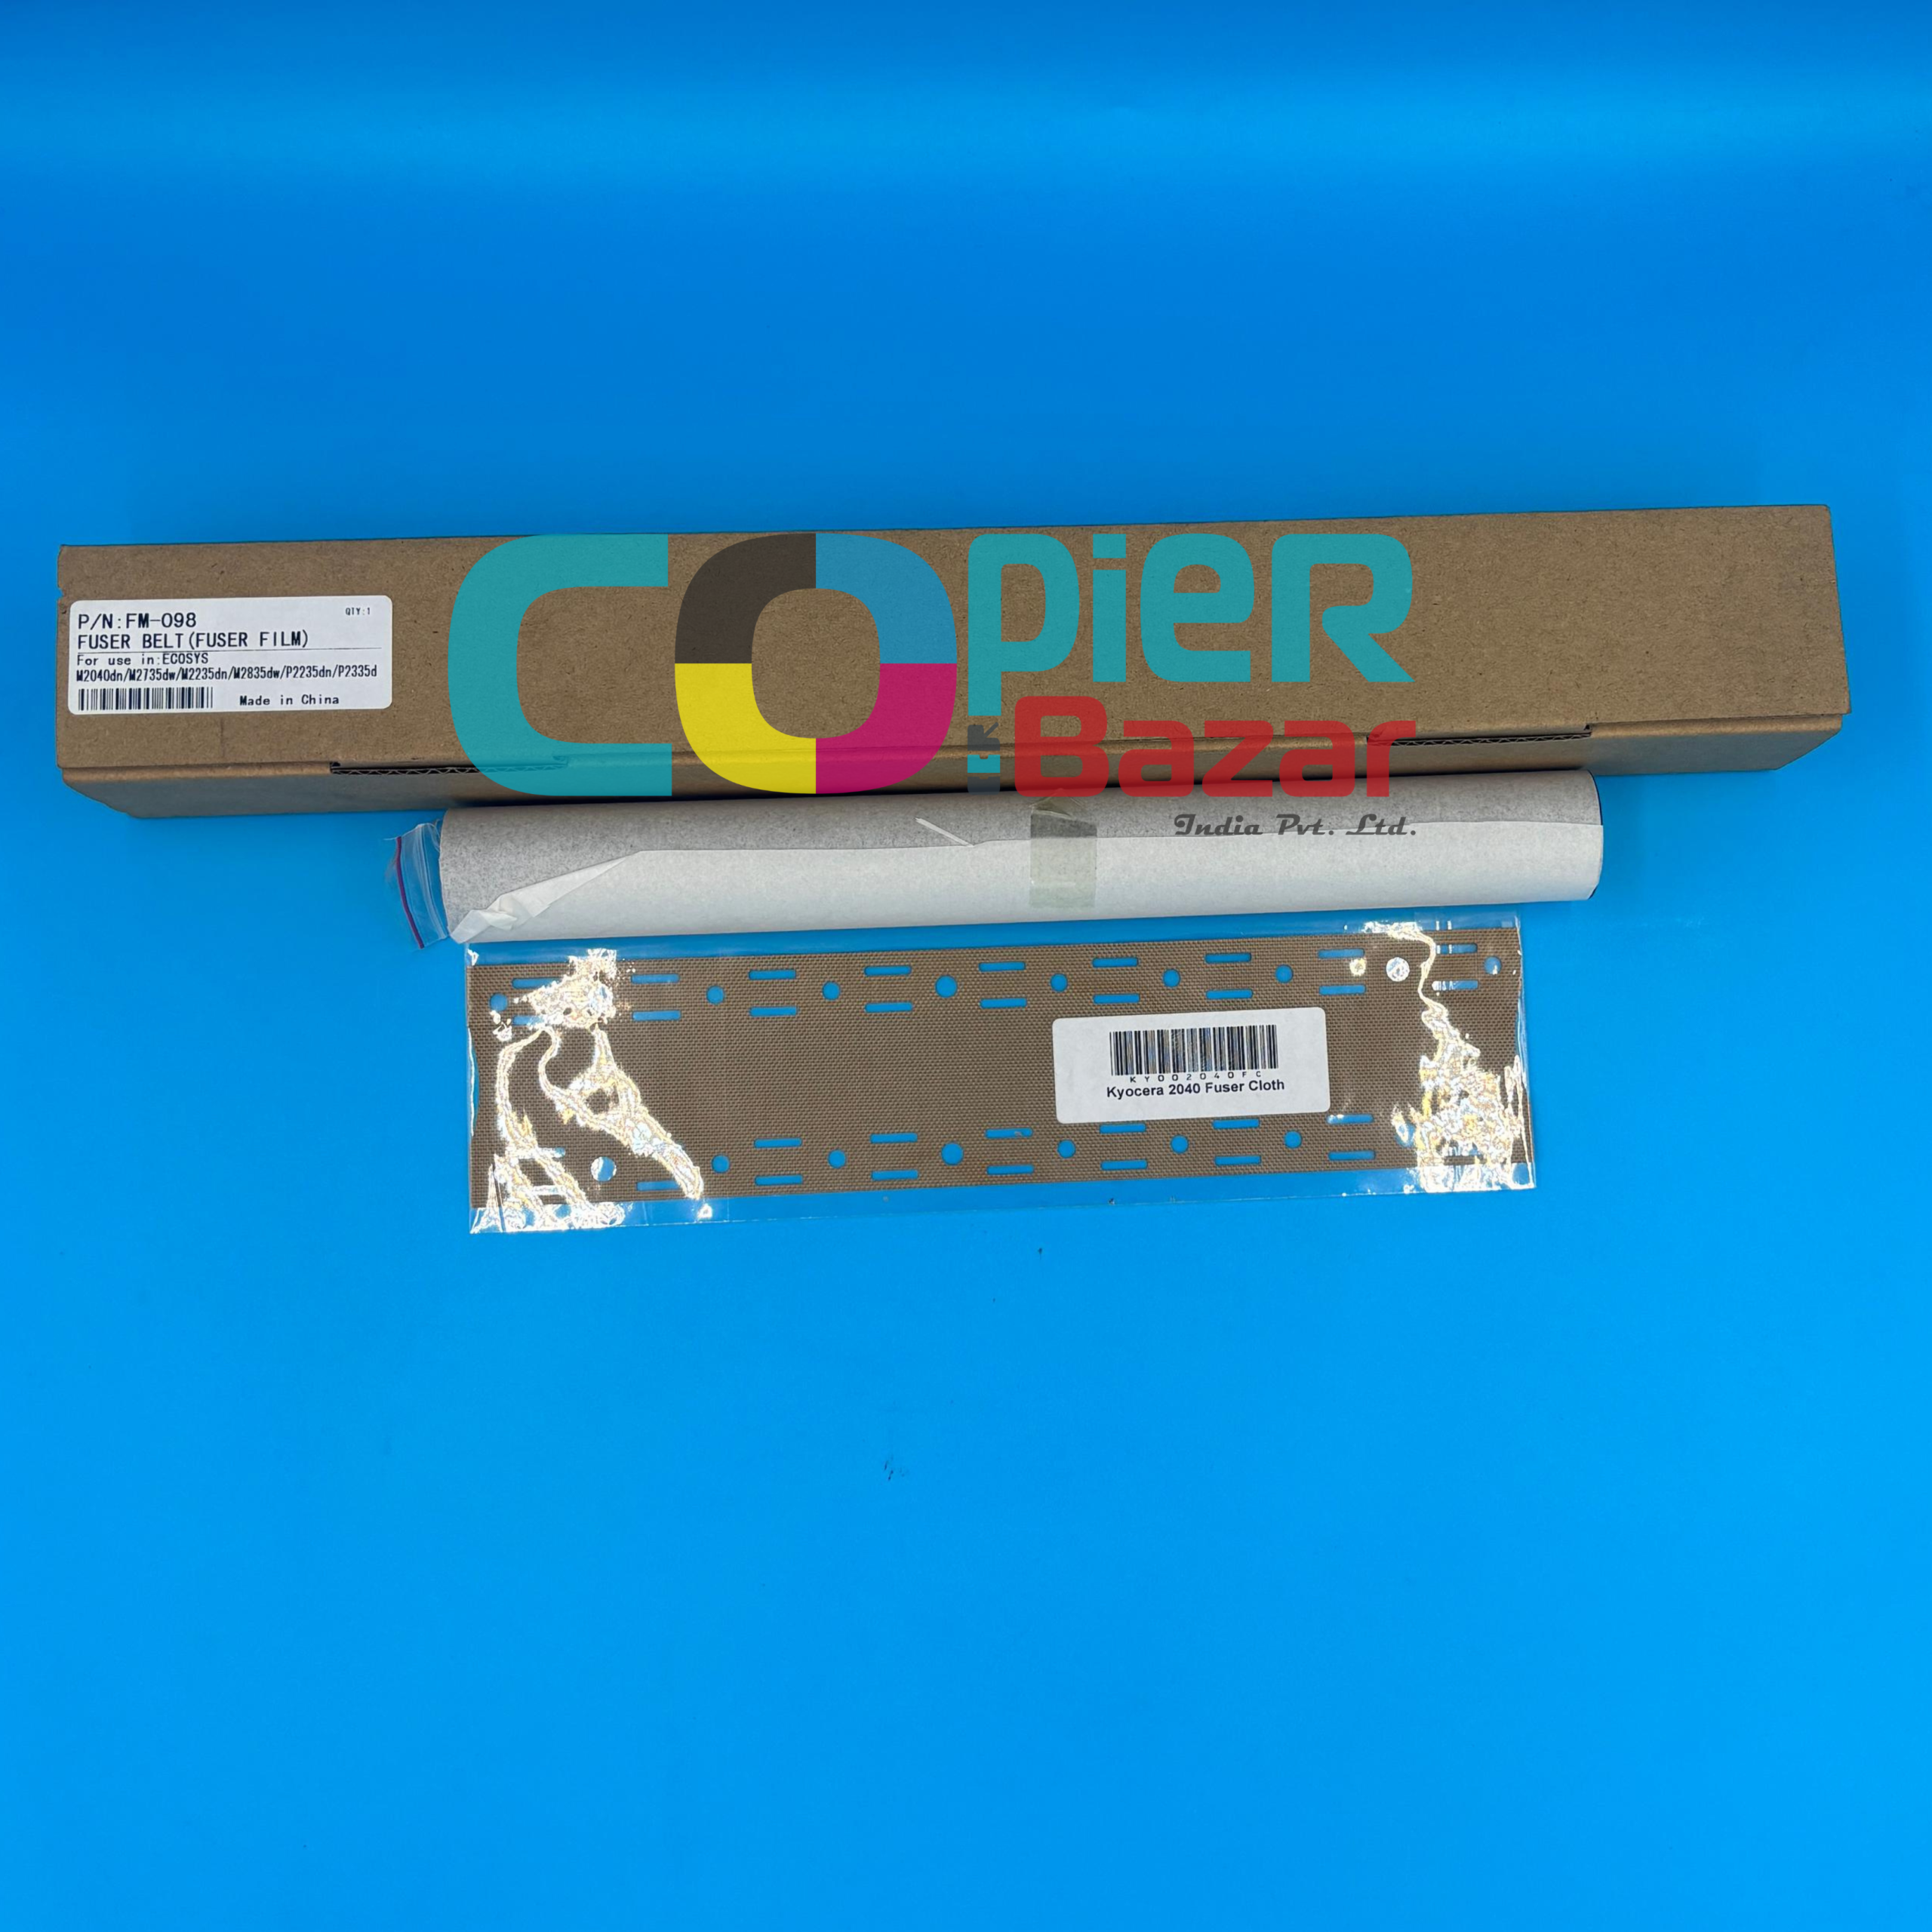
Fuser film sleeve
The manual names the fuser belt as the scratched part, but its measure is a whole fuser unit. A technician who rebuilds fuser units may choose to fit this film sleeve instead. That is not a Kyocera measure, so it is offered only as an option.
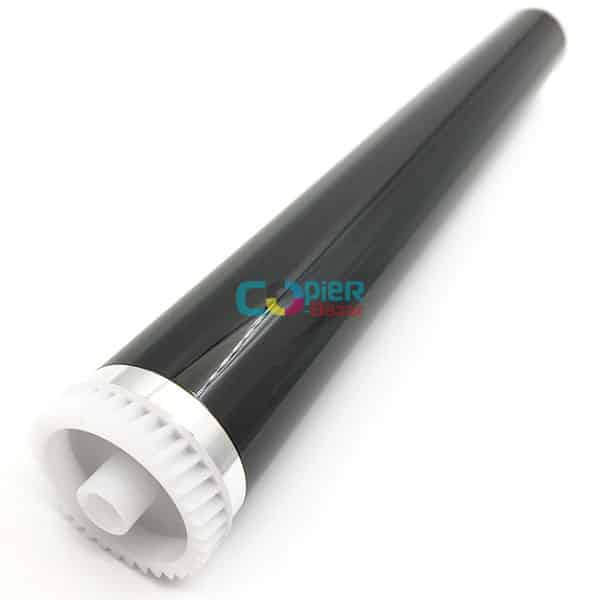
Drum unit (DK-1150)
Only if Drum Refresh does not help and the check in step 5 finds the drum surface worn or scratched. The manual's measure is a complete drum unit. Please confirm with us that this DK-1150 listing is the full drum unit for your model before ordering.
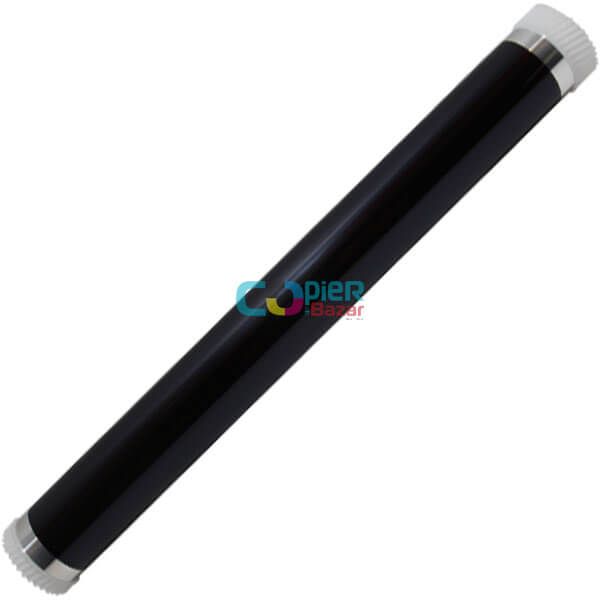
Drum only (without the unit)
For the same check as step 5. This is the photoconductor drum alone, not the complete drum unit that the manual replaces. A technician can fit it into your existing drum unit.
When should you call a technician?
Call a technician if dots stay after cleaning the glass and using a clean original, or if the test page still shows them after Drum Refresh.
Questions people ask
- Why are there black dots on my Kyocera M2040dn copies?
- If the Test Page is clean, the dots come from scanning: a dirty original, slit glass or contact glass. Clean them and copy again.
- Black spots repeat at the same distance on every page?
- Repeating spots point to a roller or belt. The Kyocera service manual cleans the transfer roller and the fuser belt first, and replaces the fuser unit if the belt spots stay.
- Will Drum Refresh remove black dots on a Kyocera M2040dn?
- It is the first engine step for random black dots. Drum Refresh spreads a little toner on the drum and turns it for about 2 minutes so the cleaning blade wipes the surface. If the drum is scratched, the drum unit is replaced.