
Kyocera ECOSYS M2040dn light or faded print and copies
Applies to: Kyocera ECOSYS M2040dn, Kyocera ECOSYS M2135dn, Kyocera ECOSYS M2635dn, Kyocera ECOSYS M2635dw, Kyocera ECOSYS M2735dw, Kyocera ECOSYS M2540dn, Kyocera ECOSYS M2540dw, Kyocera ECOSYS M2640idw
Quick answer
Light or faded output on a Kyocera ECOSYS M2040dn is often a setting: EcoPrint on, density too low or the wrong image quality. Print the Test Page from Service Setting. If only copies are light, fix those settings. If the test page is light too, shake the toner container well and refit it first.
What is happening?
When copies are light but the test page is fine, the scanner side is the cause, usually a density or EcoPrint setting, or the scanner adjustment. When prints are light as well, toner is not being laid down fully. Kyocera checks the toner container, damp paper, the drum, the developer unit, the contacts, the laser unit and the high voltage supply. The same checks apply to all eight models in this service manual.
What causes it?
Settings
Image quality not suited to the original, EcoPrint set to On, density set light, or Background Density Adjustment off.
Scanner adjustment or hardware
U411 or U068 not done, a dirty or loose slit glass, a loose home position sensor or CIS cable, or a faulty LED or CIS.
Toner (engine)
Toner settled at one side of the container, a toner supply opening that does not open, or old toner in the developer after many low coverage prints.
Damp paper or condensation (engine)
Damp paper, or condensation on the drum.
Drum and developer (engine)
Drum or developer unit not seated so the developer roller does not touch the drum, a bent developer bias contact, dirty or faulty DS pulleys, or a worn drum.
Charger, laser and high voltage (engine)
A main charger contact problem, the LSU cable (YC505), the high voltage cable (YC16), the high voltage PWB, a dirty or faulty LSU, or the main/engine PWB.
What can you check yourself?
- 1
Print the test page
Go to System Menu > Adjustment/Maintenance > Service Setting and print the Test Page (a grey halftone sheet). If the fault is on the test page, the printing engine is the cause. If the test page is clean and only copies or scans show it, the scanner is the cause.
- 2
Turn EcoPrint off
Set EcoPrint to Off under System Menu/Counter > Common Settings > Function Defaults.
- 3
Raise the density
Increase the copy density under System Menu/Counter > Adjustment/Maintenance, and match the image quality to the original type.
- 4
Shake the toner
Take out the toner container, shake it well and put it back. If the supply opening does not open, fit a new toner container.
- 5
Use dry paper
Load paper from a fresh pack kept in a dry place.
Steps for a technician
- 1
Isolate scanner or engine
Print the Test Page from Service Setting. A fault on the test page is an engine factor; a clean test page means a scanner factor. A fault that scales with zoom copying is also a scanner factor. On the scanner side, check whether it follows the contact glass, the DP front side (main unit CIS) or the DP back side (DPCIS, 40 ppm models only).
- 2
Scanner settings
Match the image quality, set EcoPrint off, raise density and set Background Density Adjustment to Manual.
- 3
Scanner adjustment and hardware
Run U411 ([Table(ChartA)], [DP FU(ChartA)] or [DP FD(ChartA)]). For DP scans set U068 [DP Read] and clean or refit the slit glass, DP conveying rollers and DPCIS. Refit the home position sensor, reseat the CIS FFC (YC506), replace the scanner carriage, then the main/engine PWB.
- 4
Paper and high voltage (engine paper side)
Replace damp paper and advise dry storage. If still light, replace the high voltage PWB for faulty transfer bias.
- 5
Toner
Shake and refit the toner container, run Drum Refresh for condensation, and replace a container whose supply opening stays shut. Use test prints to use up old toner in the developer and refill.
- 6
Drum and developer
Reseat the drum unit and developer unit so the developer roller touches the drum. Reshape the developer bias contact. Clean the DS pulleys on each end of the developer unit, or fit a new developer unit if the pulleys are faulty. Replace the drum unit if the drum is worn.
- 7
Charger contact and cables
Correct the main charger contact so it grounds. Reseat the LSU (APC PWB) FFC (YC505) and the high voltage PWB cable (YC16).
- 8
Boards and LSU
Replace the high voltage PWB, then the LSU, then the main/engine PWB.
Parts for this error
Drum unit (DK-1150)
Only if Drum Refresh does not help and the check in step 6 finds the drum surface worn or scratched. The manual's measure is a complete drum unit. Please confirm with us that this DK-1150 listing is the full drum unit for your model before ordering.
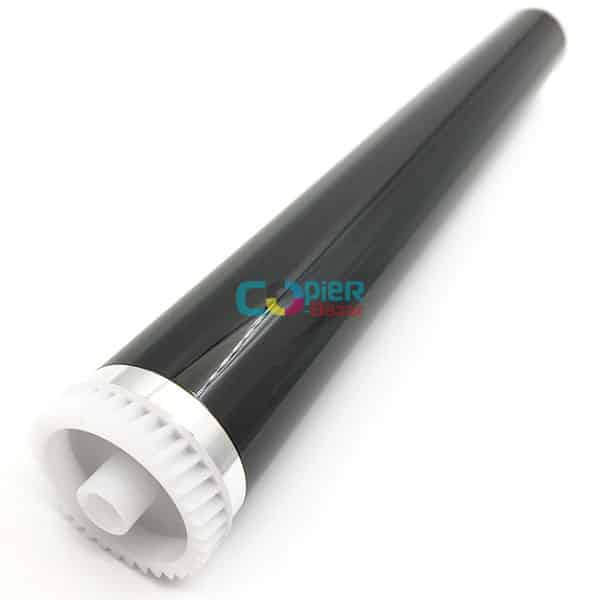
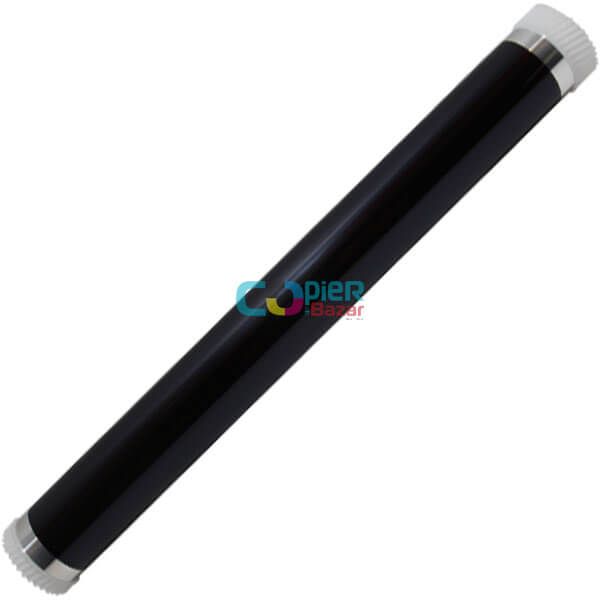
Drum only (without the unit)
For the same check as step 6. This is the photoconductor drum alone, not the complete drum unit that the manual replaces. A technician can fit it into your existing drum unit.
When should you call a technician?
Call a technician if output stays light after turning EcoPrint off, raising density, shaking the toner and using dry paper.
Questions people ask
- Why is my Kyocera M2040dn printing so light?
- Check EcoPrint and the density setting first. If the Test Page is light as well, shake the toner container and refit it, then use dry paper; a technician checks the drum, developer and laser unit after that.
- Copies are light but prints are fine on Kyocera M2040dn?
- Then it is a scanner side fault. Match the image quality to the original, raise the copy density and turn EcoPrint off. A technician can run the U411 scanner adjustment.
- Does light print mean a new drum?
- Not first. The Kyocera service manual checks toner, condensation, seating, contacts and the developer before it replaces a worn drum unit.
- Why are prints light after many low coverage pages?
- The service manual says toner in the developer unit can degrade after many low coverage prints. A technician uses it up with test prints and lets fresh toner refill it.